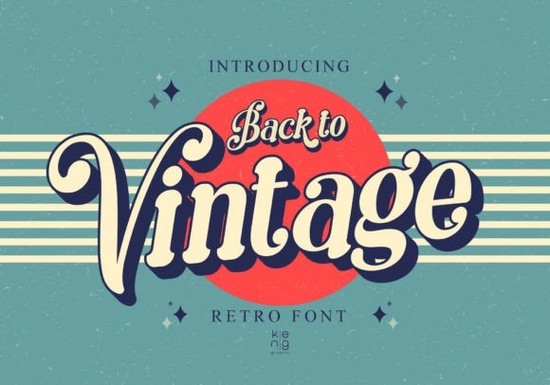
If you need a typeface that brings 1970s warmth and 1980s poster energy to your layout, Back to Vintage Font delivers exactly that. This display typeface pulls inspiration from mid-century signage and retro magazine covers, but skips the harsh edges you often see in older revival fonts. Instead, every corner is softened and rounded, making it highly readable at larger sizes. Designers, print-on-demand sellers, and crafters can drop it into headlines, product labels, or social graphics without worrying about visual clutter.
What makes this retro typeface stand out?
Most vintage-inspired fonts lean heavily into distressed textures or exaggerated swashes. This one takes a different approach. The letterforms keep their classic retro proportions, but the rounded terminals give the text a friendly, approachable feel. That subtle curve work means your headlines will grab attention without looking overly ornate. Because it is built as a display font, it performs best when used sparingly. Think short phrases, brand names, event titles, or packaging headers. When you keep the word count low and the point size high, the unique shape of each character has room to breathe.
Where does a rounded vintage display font work best?
Retro typography has moved past novelty status and is now a reliable choice for everyday branding. You will see this style popping up across several creative workflows:
- Print-on-demand apparel and tote bags that need a bold, nostalgic statement
- Small business packaging, especially for candles, coffee blends, and handmade skincare
- Digital templates for social media sales, event flyers, and YouTube thumbnails
- Cricut and Silhouette craft projects where clean cut lines matter more than intricate details
The softened corners also translate well to physical production. When you send designs to a screen printer or a vinyl cutter, sharp angles can sometimes cause weeding issues or ink buildup. The rounded structure here reduces those production headaches while keeping the retro vibe intact.
How do you pair it with other typefaces?
A strong display font needs a quiet partner. Since this typeface carries so much personality, pair it with simple sans-serifs or clean slab serifs for body text. If you are building a full retro kit, you might explore complementary styles like a flowing script for subheads or a condensed sans for technical details. For example, when you want a softer, hand-drawn contrast, you can test how it sits alongside options like bloomsy display lettering or jake typeface alternatives. If your project leans more toward psychedelic aesthetics, checking out groovy melt style fonts can give you a wider range of moods. And when you need something with more geometric structure to balance the curves, motcha display options often provide that steady baseline. You can also review the full back to vintage collection page to see updated weights and licensing notes.
What should you know about licensing and file setup?
Before you add any font to a commercial workflow, check the included license. Most marketplace fonts come with a straightforward commercial license that covers physical products, digital templates, and small-batch sales, but always verify the exact terms inside the downloaded zip file. You will typically receive OTF and TTF files, which install smoothly on both Windows and Mac. If you plan to use the typeface in Cricut Design Space or Silhouette Studio, restart the software after installation so the new letters appear in your dropdown menu.
You can preview the full character set and grab the latest version of Back to Vintage Font directly from the marketplace. Keeping your font files organized in labeled folders will save you time when you switch between client work and personal craft projects.
How do you get the most out of retro typography?
Vintage design works best when you respect spacing and hierarchy. Tight tracking can make rounded letters feel cramped, so add a little extra letter spacing to keep the shapes distinct. Stick to one or two accent colors that match the era you are referencing, like mustard yellow, burnt orange, or faded teal. Always test your layout at actual print size before sending it to production. What looks balanced on a laptop screen can shift noticeably when scaled up to a poster or down to a product tag.
Quick setup checklist before you start designing:
- Install both OTF and TTF files, then restart your design software
- Test the typeface at your final print size to check readability
- Add slight letter spacing to prevent rounded corners from touching
- Pair with a neutral sans-serif for body copy and contact details
- Review the commercial license file for POD and digital template rules
- Save a branded color palette that complements the retro aesthetic
 Hunters Font: Creative K-Pop Design Ideas
 Thick Honey Duo Font for Creative Projects
 Jake Font: Creative Design Projects & Download Guide
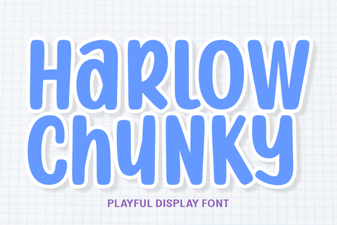 Harlow Chunky Font: Design Projects & Inspiration
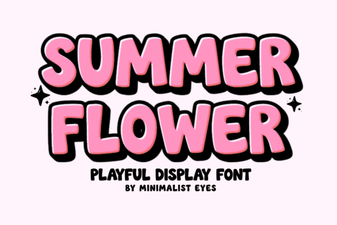 Fresh Fonts for Summer Flower Designs & Crafts
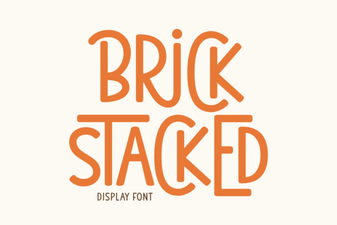 Creative Brick Stacked Typography Projects