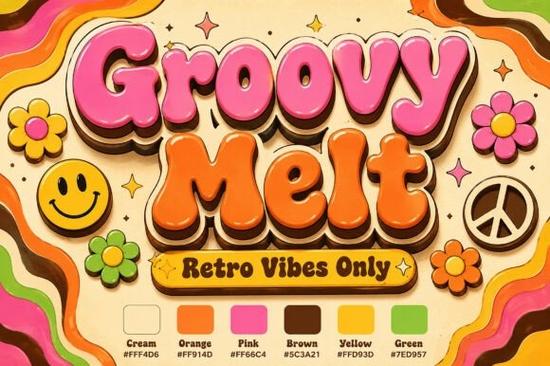
If you need a typeface that instantly brings 1970s psychedelic energy to your projects, Groovy Melt Font delivers exactly that. This display font uses thick, rounded letterforms that slowly drip along a soft baseline, giving every word a fluid, hand-drawn feel. The built-in color layers combine bubblegum pink, retro orange, and deep brown shadows, so you skip hours of manual effects in your design software. Whether you run a print-on-demand shop, design vintage stickers, or create branding for a small business, this font handles the heavy lifting.
What makes this 70s-style typeface stand out?
Most retro fonts rely on flat shapes or simple outlines. This one stacks multiple color layers directly into the character files. The result is a volumetric script that looks like glossy sign paint. The melting baseline keeps the text grounded while feeling playful, and the chocolate brown drop shadows add enough depth to make letters pop on light or dark backgrounds. Because the highlights and shadows are baked in, you can type your message and export without masking or adjusting opacity.
For crafters and shop owners, that means faster turnaround times. Drop the type into Canva, Illustrator, or Procreate and get a finished look quickly. The letter spacing is already tuned for display use, so headlines stay readable even when characters overlap.
Where does a melting script font work best?
This style shines when you give it room to breathe. It is built for short phrases, brand names, and product labels rather than long paragraphs. Here are a few reliable use cases:
- Vintage festival posters that need a warm, nostalgic headline
- Custom sticker sheets for planners, laptops, or retail packaging
- Apparel graphics like retro tour tees or summer camp shirts
- Social media quotes where a bold, colorful hook stops the scroll
If you prefer a cleaner retro vibe for secondary text, you might pair it with a straightforward sans serif or browse other display options like a thick honey duo style for contrast. When you keep the supporting type simple, the melting letters stay the clear focal point.
How do you pair retro display fonts without cluttering your layout?
Working with heavily stylized type requires restraint. Since the characters already carry color, shadow, and movement, your job is to frame them properly. Limit your palette to two or three supporting colors that complement the built-in pink and orange tones. Cream, mustard, or muted teal usually work well without fighting for attention.
Next, watch your hierarchy. Use the melting font for the main message only. For subheadings or details, switch to a neutral typeface. If you enjoy experimenting with different retro moods, you could test a soft rounded display for captions, or try a bold stacked alternative when you need a more geometric backdrop. Let the decorative font lead, and keep everything else quiet.
Spacing matters just as much as color. Increase the line height slightly so the dripping baselines do not crash into the row below. If you are designing for print, always convert your text to outlines before sending files to a printer to prevent missing font errors.
What should you check before downloading a commercial font?
Before adding any typeface to your workflow, verify the licensing terms. Some fonts cover personal use only, while others include commercial rights for digital products, physical merchandise, or client work. Check whether the license allows print-on-demand sales, web embedding, or app integration if those apply to your business. Also, look at the file formats provided. OpenType and TrueType files work across most design programs, and layered color fonts usually require software that supports SVG color tables.
If you want to see how this style compares to other trending typefaces, you can browse the full collection and test Groovy Melt Font alongside your current favorites. For projects that need a different energy, you might also explore a modern display option for clean headers, or a heavy retro script when you want something less fluid but equally bold.
Quick setup checklist before you start designing
- Confirm your software supports color font layers
- Install both the standard and color versions if included
- Set your canvas to 300 DPI for print items like stickers and transfers
- Keep headlines under six words for maximum readability
- Export as PNG with a transparent background for easy mockup placement
- Save a copy with text converted to outlines before sending to print
Start with a short test phrase, adjust the tracking until the drips align naturally, and preview the design at actual size. Once the spacing feels right, move straight into your final layout.
Get Started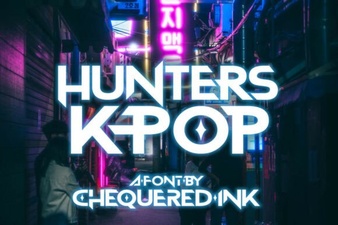 Hunters Font: Creative K-Pop Design Ideas
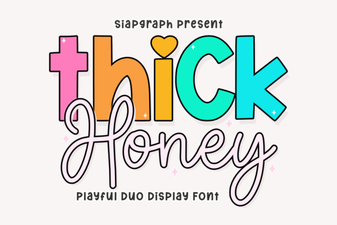 Thick Honey Duo Font for Creative Projects
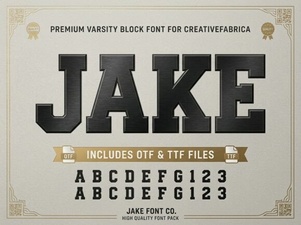 Jake Font: Creative Design Projects & Download Guide
 Vintage Fonts for Modern Design Projects
 Harlow Chunky Font: Design Projects & Inspiration
 Fresh Fonts for Summer Flower Designs & Crafts